Positions in Bridge
The four positions in bridge are North, South, East and West, named after the compass points and seated in that order around the table. North and South are partners against East and West, and on every deal the positions take on roles: dealer, declarer, dummy and the two defenders.
Updated 14 October 2026
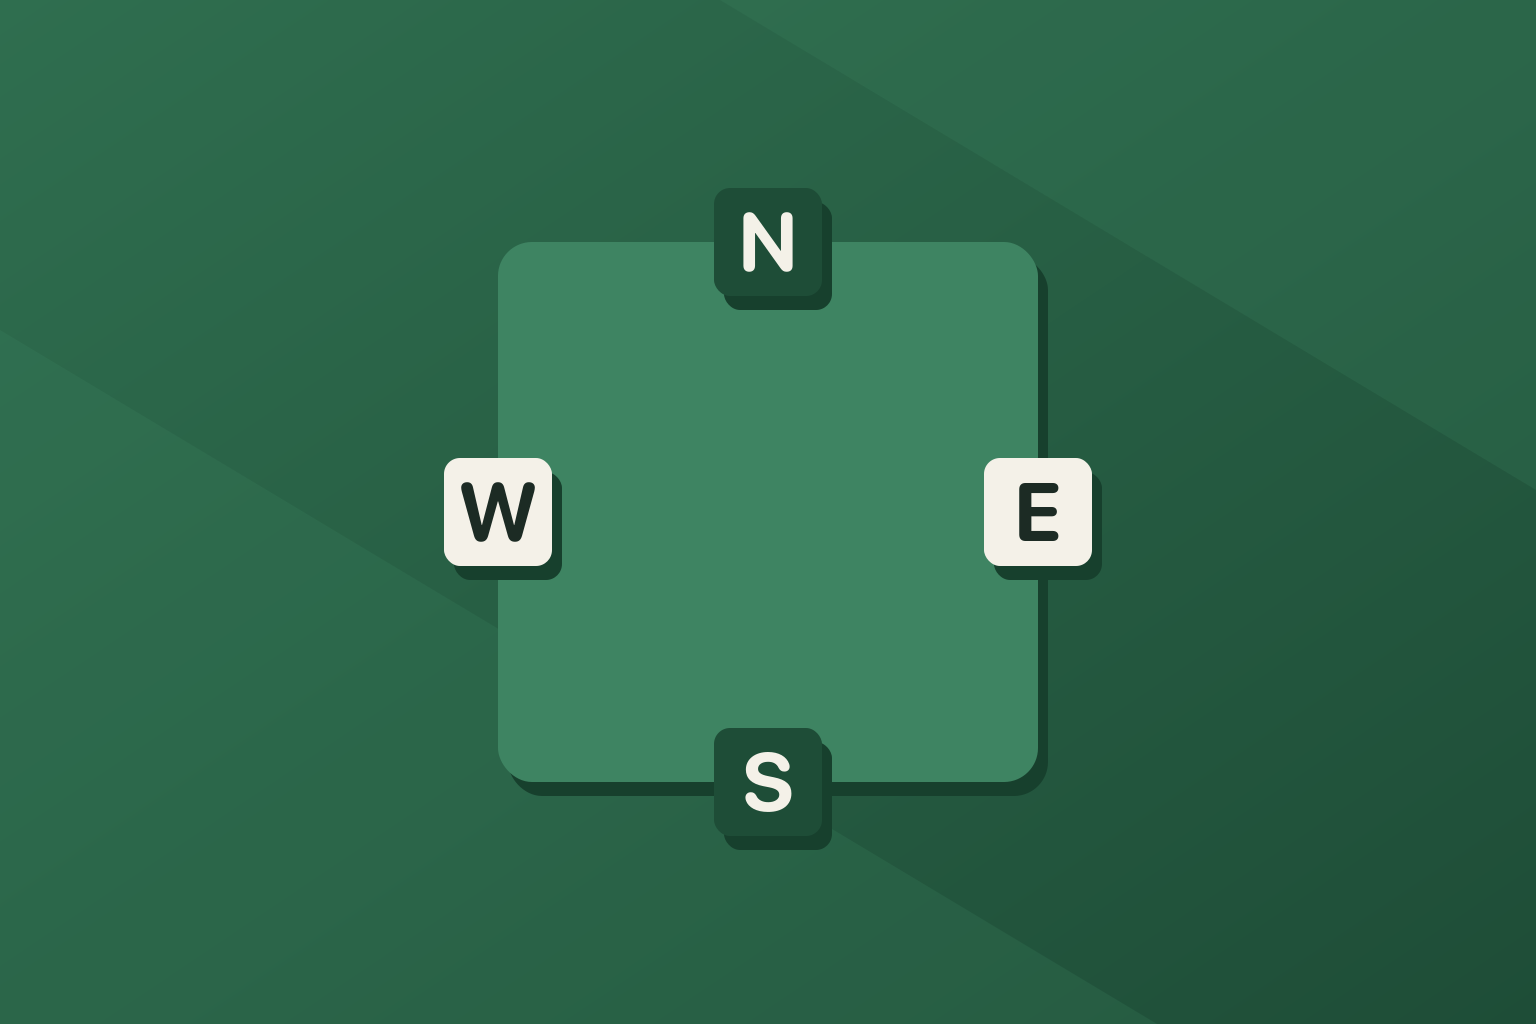
Every bridge diagram is drawn the same way. North sits at the top, South at the bottom, West on the left and East on the right, and the four hands are printed around an empty square that stands for the table. Books, newspaper columns, club hand records and online platforms all use this layout, which is why a player in Rome and a player in Chicago can read the same deal without a word of explanation. This page goes round that square seat by seat and then follows one deal through every role.
What are the four positions in bridge?
The four positions in bridge are North, South, East and West, and the two players facing each other across the table are partners. North and South play together against East and West for the whole session. The names are borrowed from the compass to make deals easy to record and describe. They have nothing to do with the room, and nobody checks where real north is before sitting down.
Everything at the table moves clockwise: the deal, the bidding and the play. Starting from North, the order is North, East, South, West, and then back to North. If you hold the South cards, West plays after you and East plays before you.
Writers almost always put the hand they want you to think about in the South seat, at the bottom of the diagram, and most online platforms seat you South for the same reason. It is a habit of presentation and gives South nothing extra at the table.
Is any seat better than another?
No seat holds an advantage in the cards, because the shuffle gives every seat the same chance of a good hand. In a rubber or Chicago game you can sit anywhere, and partnerships are often drawn by cutting the cards.
In duplicate bridge the seat matters for a different reason. Each pair is either a North-South pair or an East-West pair, and your result on a board is compared only with the other pairs who sat in your direction and held the same cards. By the usual custom North takes charge of the scoring at the table, entering the result on the electronic scorer or the paper traveler, and East checks it. In the common Mitchell movement the North-South pairs stay at their table all session and the East-West pairs move from table to table, which is why players who prefer not to walk around ask for a North-South seat.
The dealer, and how the deal moves around the table
The dealer is the player who deals the cards and makes the first call of the auction. In a home game the first dealer is usually chosen by a cut, the player drawing the highest card dealing first. After that the deal passes clockwise, one seat per hand, so each player deals every fourth hand.
The dealer gives out the cards one at a time, face down, starting with the player on the left and going clockwise until each player has thirteen. In duplicate nobody deals at the table. The cards come in a board, a tray with four pockets marked with the compass points, and the board names the dealer and the vulnerability. Both follow the board number in a cycle of sixteen.
| Board | Dealer | Vulnerable |
|---|---|---|
| 1 | North | None |
| 2 | East | North-South |
| 3 | South | East-West |
| 4 | West | Both |
| 5 | North | North-South |
| 6 | East | East-West |
| 7 | South | Both |
| 8 | West | None |
| 9 | North | East-West |
| 10 | East | Both |
| 11 | South | None |
| 12 | West | North-South |
| 13 | North | Both |
| 14 | East | None |
| 15 | South | North-South |
| 16 | West | East-West |
The dealer is easy to work out without the table. Board 1 is North, board 2 East, board 3 South, board 4 West, and the pattern repeats every four boards. The vulnerability is the part players look up, and most boards print it in red on the pocket of the vulnerable side.
Declarer, dummy and the defenders: the roles on a deal
Once the auction ends, the side that bought the contract becomes the declaring side and the other side defends. The four seats then take four roles, and they change from deal to deal with the auction.
Declarer
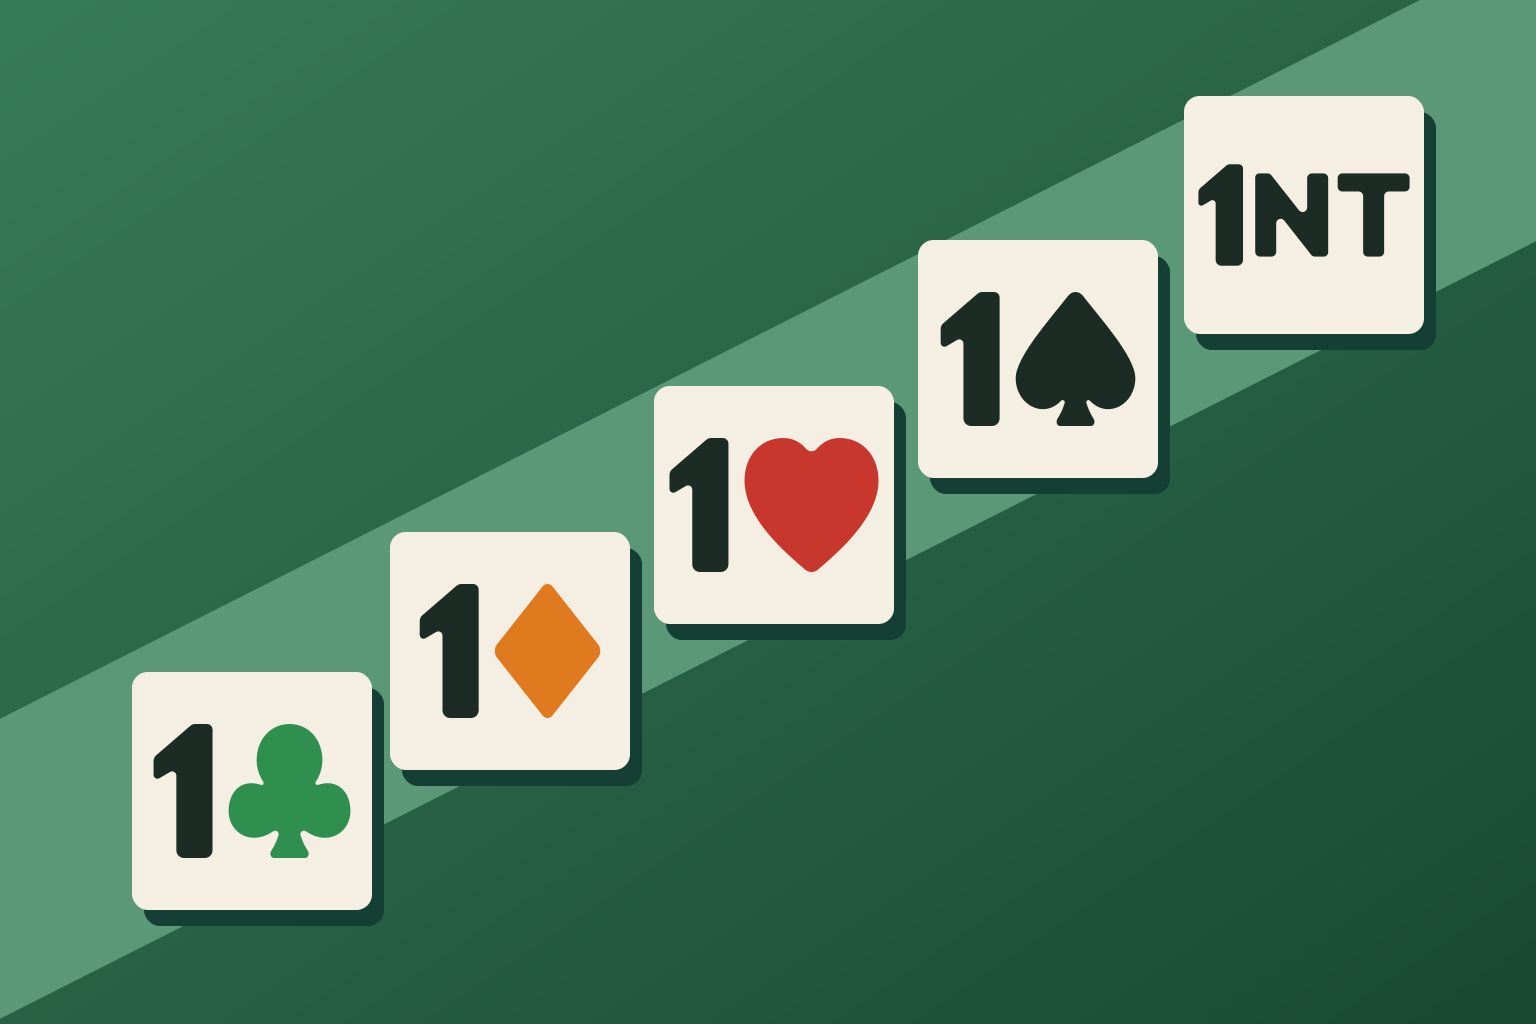
Declarer is the player of the declaring side who first bid the strain of the final contract. That rule surprises beginners. If North opens 1♠ and South ends up bidding 4♠, North is declarer, because North named spades first, even though South made the final bid. In a notrump contract the same test applies to notrump. Declarer plays both hands of the partnership for the rest of the deal.
Dummy
Dummy is declarer's partner, and also the name for the cards that player lays face up on the table. After the opening lead, dummy spreads the whole hand in columns by suit, with the trumps on dummy's right, and from then on declarer chooses every card played from it. In duplicate declarer names the card and dummy pulls it, while in many home games declarer reaches over and plays it.
Dummy takes no further part in the play. Under the Laws, dummy may not suggest a card, comment on the play or draw attention to a defender's mistake while the hand is in progress. Dummy may try to stop declarer from an irregularity, such as leading from the wrong hand, and may ask declarer who fails to follow suit whether they hold a card of the suit led.
The defenders
The other two players are the defenders, and their job is to take enough tricks to defeat the contract. Each defender sees only their own cards and dummy, which is why defense depends on signals between partners. The defender on declarer's left makes the opening lead, the first card of the play, and only then does dummy go down. Most clubs have the lead made face down first, so that the leader's partner can ask about the auction before the card is turned over.
What do LHO and RHO mean?
LHO means left-hand opponent and RHO means right-hand opponent, the two players on either side of you. They are relative terms. Sitting South, your LHO is West and your RHO is East. Sitting East, your LHO is South and your RHO is North.
Players use them from any seat. "My RHO opened 1♥" tells you the opening bid came just before your turn to speak, which is the position for a direct overcall or a takeout double. In descriptions of the play the words usually refer to declarer, so "declarer's LHO led a diamond" means the opening leader.
The lead comes from declarer's LHO because the play runs clockwise and the Laws fix it there. The effect is that dummy, sitting on the leader's left, plays second to the first trick, after seeing the lead, and declarer plays last. Declarer's RHO is the leader's partner and plays third. See opening leads for how the leader chooses a card.
First, second, third and fourth seat
The seats are also numbered by the order of speaking on a given deal. The dealer is in first seat, the dealer's LHO in second seat, the dealer's partner in third seat and the dealer's RHO in fourth seat. These numbers change every hand as the deal moves round, while North, South, East and West stay put.
The numbers matter because they tell you what the earlier passes mean. In first and second seat partner has not spoken, so an opening bid needs the values a partner can rely on, and many players use the rule of 20 to decide the borderline hands. In third seat partner has already passed and game is unlikely, so many pairs open a little lighter, often with a good suit they want led. The Drury convention lets a passed partner check whether such an opening was real. In fourth seat, after three passes, another pass ends the deal with no score, so players open only when they expect a plus. The rule of 15, high-card points plus the number of spades, is the usual guide there.
Second seat is the overcalling seat, since the dealer's opening bid, when there is one, comes just before it, and fourth seat after an opening and two passes is the balancing or protective seat, where players compete a little more freely.
What does vulnerable mean?
A side that is vulnerable scores bigger bonuses for games and slams and pays bigger penalties when it goes down. Not vulnerable, a made game earns a bonus of 300. Vulnerable, it earns 500, so 4♠ made exactly is worth 420 or 620. Undoubled undertricks cost 50 each not vulnerable and 100 each vulnerable, and doubled undertricks cost much more. The bridge scoring guide sets out every figure, and undertrick penalties gives the doubled ones in a table.
How a side becomes vulnerable depends on the form of the game. In duplicate the board prints it, following the cycle above. In rubber bridge a side becomes vulnerable by winning its first game of the rubber. In Chicago the usual arrangement is a cycle of four deals: neither side vulnerable on the first, the dealer's side on the second and third, and both on the fourth.
Players describe the combination from their own side's point of view. Favorable vulnerability means you are not vulnerable and they are, often called white against red after the colors on the board. Unfavorable means the reverse, red against white. The other two cases are simply none vulnerable and both vulnerable.
Vulnerability changes the arithmetic of competitive bidding more than anything else. At favorable vulnerability a sacrifice that goes down three doubled costs 500, less than the 620 the opponents would score for a vulnerable 4♥ or 4♠, so preempts and sacrifices are bolder. At unfavorable vulnerability the same three down costs 800, and sensible players preempt more soundly and overcall on better suits.
One deal followed position by position
Here is the deal from the top of the page, board 1. North is the dealer and neither side is vulnerable.
- 1.The dealer. North deals, as on every board numbered 1, 5, 9 or 13, and passes in first seat with 9 HCP.
- 2.The auction. East, in second seat, passes with 5 HCP. South in third seat opens 1♠ on 17 HCP and a five-card suit. West passes, North raises to 2♠ with three trumps, and South, with a strong hand opposite a raise, bids 4♠.
- 3.Declarer. South named spades first and plays the contract.
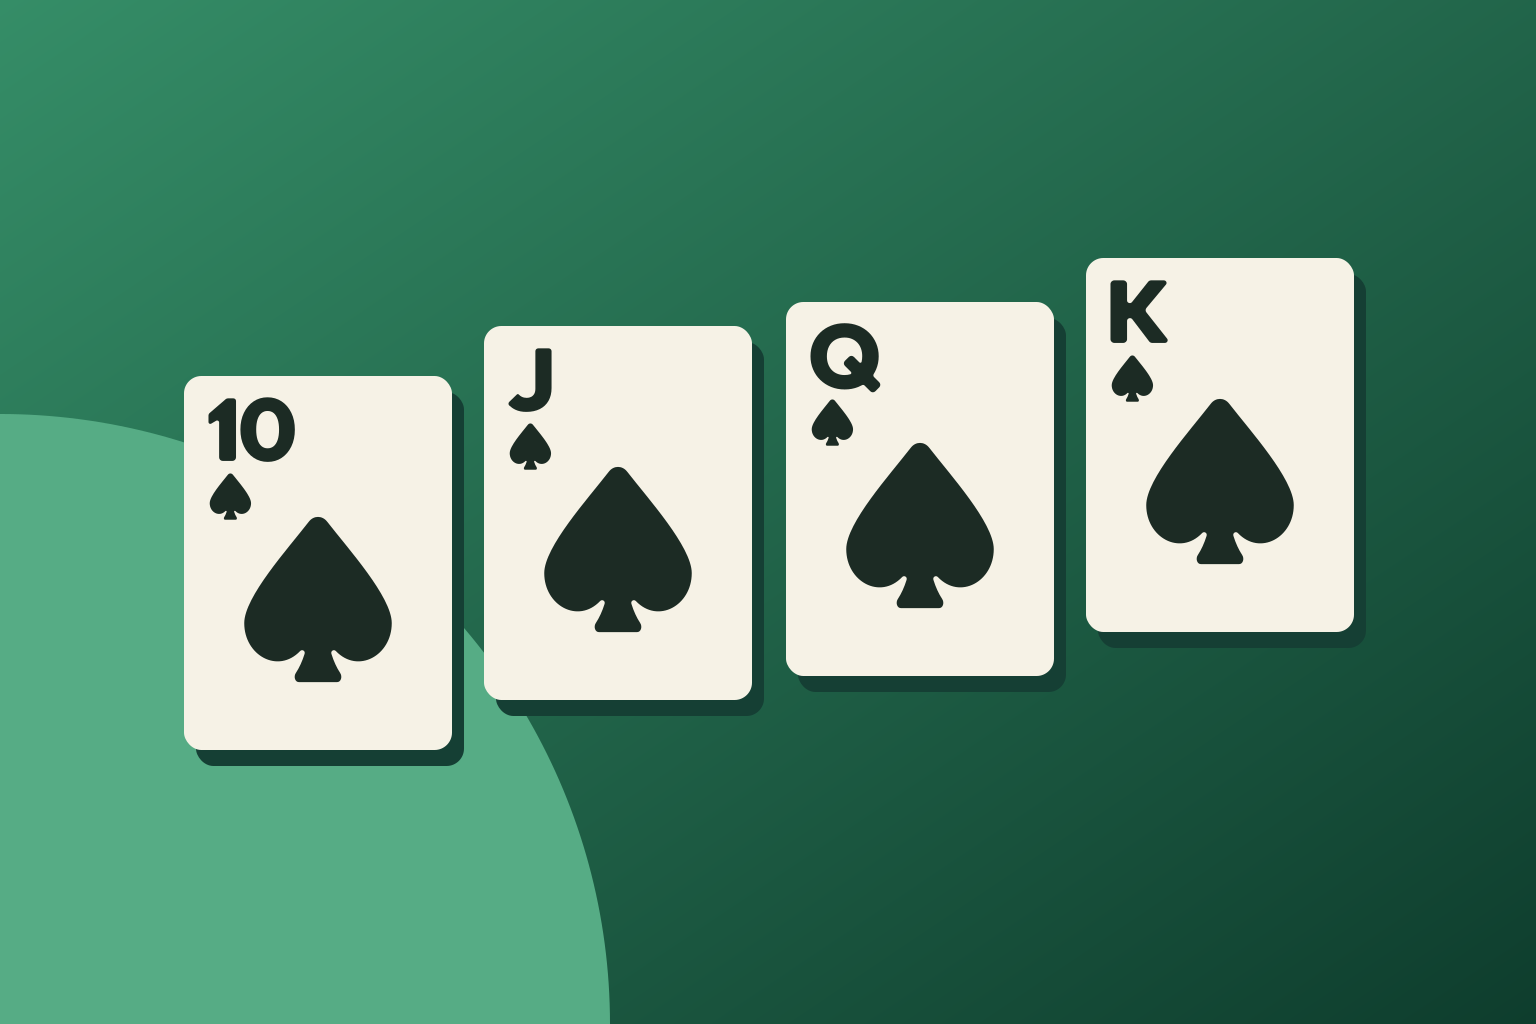
- 4.The opening lead. West is South's LHO and leads. The ♦K, top of the KQJ10 sequence, is the natural card.
- 5.Dummy. North lays the hand down after the lead, spades on the right, and declarer plays both hands. With five trumps, five hearts once the suit breaks 3-2 and the ♦A, South has more than the ten tricks needed.
- 6.The defenders. West and East defend. East, declarer's RHO, plays third to the first trick.
The positions at a glance
| Seat | Partner | LHO | RHO | In duplicate | Role on board 1 |
|---|---|---|---|---|---|
| North | South | East | West | North-South pair, keeps the score | Dealer, then dummy |
| East | West | South | North | East-West pair, checks the score | Defender, plays third to trick one |
| South | North | West | East | North-South pair | Opener and declarer |
| West | East | North | South | East-West pair | Defender, makes the opening lead |
To go from the seats to a full game, the how to play bridge guide walks through a deal from the shuffle to the score, and the rules of bridge set out each law in order. The words used on this page, and many more, are defined in the bridge terms glossary.
Common questions
Short answers to what readers ask most.
- What do N, E, S and W mean in bridge?
- They stand for North, East, South and West, the four seats at the table. North and South are partners against East and West, and the letters are used in diagrams, hand records and scores.
- What is the dummy in bridge?
- The dummy is declarer's partner, who lays their hand face up after the opening lead. Declarer plays the dummy's cards as well as their own, and the dummy player takes no part in the play.
- Who is the declarer in bridge?
- The declarer is the player of the side that won the auction who first bid the strain of the final contract. Declarer plays both their own hand and the dummy.
- Who leads first in bridge?
- The player on declarer's left makes the opening lead, face down in duplicate until partner has had a chance to ask questions, and only then does dummy go down. After that, whoever wins a trick leads to the next one.
- What does LHO mean in bridge?
- LHO means left-hand opponent, the opponent who plays after you. Declarer's LHO always makes the opening lead.
- What does vulnerable mean in bridge?
- Vulnerable means your side scores larger game and slam bonuses and pays larger penalties for going down. In duplicate the board shows which sides are vulnerable, and in rubber bridge a side becomes vulnerable after winning a game.
- Who deals first in bridge?
- In a home game the player who cuts the highest card deals first, and the deal then passes clockwise. In duplicate the board decides, with North dealing board 1.
- Do positions change in duplicate bridge?
- Your direction usually stays the same all session, either North-South or East-West. What changes is the table and the opponents as the movement runs, and on each board the roles of dealer, declarer and dummy change with the auction.
Practice: bridge positions
Eight quick questions on what you just read. For a longer session, take the hundred-question quiz.